 A major part of hair colouring services, foils have been a go-to option to lighten, lift and add colour to people’s hair since the 1980s.
With a wide range of applications and techniques available, the uncapped level of styling and creativity is a big reason why clients are big fans of the foil. A far cry from the days of ‘streaks, adding highlights and lowlights to a colour appointment is more than just the standard ½ head/full head applications.
Whether you’re going for a high impact blonde, adding texture and dimension, a root re-touch or creating a ‘lived-in’ look — the different ways to colour hair with foils are constantly improving and evolving.
We explain Foil Placements and our favourite techniques that our Haircare Group Education and Technical teams are loving right now. First, let’s talk about three different Foil Placements:
The Horizontal Placement: Perfect for seamless blondes, for the client who wants a full head of blended and soft blonde. Also amazing for those clients who a trying to remove a large amount of regrowth.
The Vertical Placement: Intended for clients that want to show texture and bold pops of lightness. Perfect to use in conjunction with root shadows for that bold lived in texture vibe.
Top tip: Let the natural hair fall to determine where to part the hair for foiling.
The Diagonal Placement: For a more blended look, can be used to create a soft blonde by spacing out your foils or create a high impact blonde when foils are placed closer together.
Top tip: This is a great placement for people who like to wear their hair in different partings
How to Horizontal Foil Placements
Perfect for: Full Head Highlights
The horizontal placement, is great for creating a soft and natural look when highlighting a full head of hair. The end result for horizontal foil placement is a soft, natural and well-blended colour. Perfect when you trying to blend out a large regrowth.
What you will need:
- Quality foil sheets. Using a larger packet of pre-cut foils is recommended like the fusion pop-up foil silver and rose gold 1000pk
- Hair Bleach, tint or your go to lightening system such as Evo bottle blonde
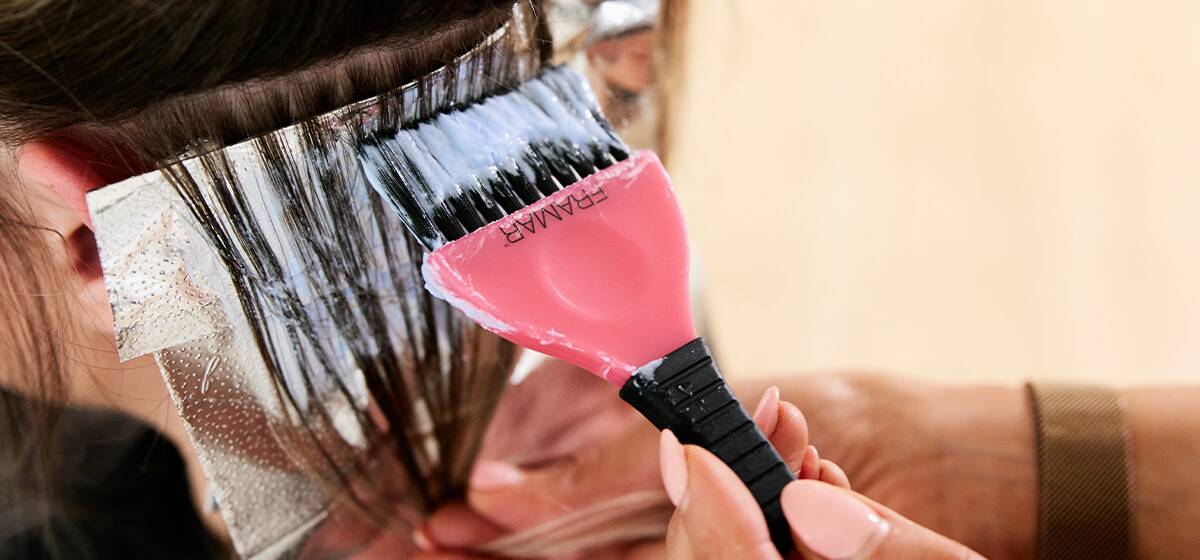
- Your favourite tint brush – we love feather tip brushes like Evo Colour Brush
- Framar Pastel Me More Gator Grip Clips
Step 1: Working in quadrants, start at the back of the head at the nape and work up towards the crown. Sitting the top foil edge horizontally in line across the top of the parted hairline, apply your first foil with colour to sectioned hair.
Step 2: Repeat on the other side.
Step 3: Move on to the front two sections. Starting at the face frame then work horizontally towards the part.
HOW TO VERTICAL FOIL PLACEMENT
Perfect for: High contrasting Colour
For a contrasting blonde or colour, the vertical foil technique will give the hair a more defined look. Great for clients that are after a blonde – that can give a beautiful contrasting effect.
What you will need:
- Sheets of Hair Foils
- Hair Bleach, tint or your go to lightening system such as Lakmé k.Blonde
- Your Favourite tint brush
- Fusion Plastic Black Hair Clips
Step 1: Section the hair using a mohawk sectioning pattern. Place the foils starting at the crown. Working your way toward the forehead.
When placing your first foil; line up the top foil edge on one of the parted sides (where colour is needed) vertically so the rest of the foil sheet sits down close to the ear/side of head.
The foils when stacked will fan out. Foils will sit on top of each other, when moved from laying on crown to towards the face they resemble a mohawk.
Step 2: Through the sides work on a vertical or slightly angled back placement from the face frame working back toward the crown.
Step 3: Repeat process on other side.
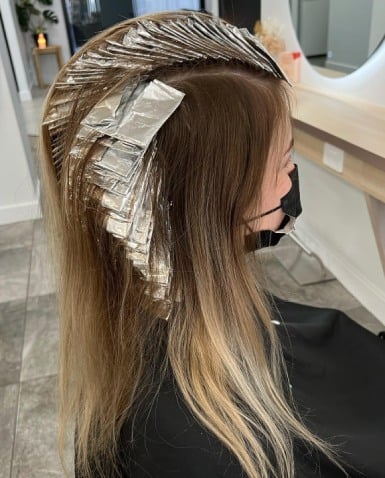
Image Credit: @b.finessesalon
HOW TO DIAGONAL FOIL PLACEMENT / BACK PLACEMENT
Perfect for: Face Framing, blended blondes
For clients that want a little bit more face framing and amazing for clients who are wanting a high impact blonde that is extremely blended and that can be moved from side to side due to the way the foils fall on the side of the head. For a client who has multiple partings.
What you will need:
- Sheets of Hair Foils
- Hair Bleach, tint or your go to lightening system such as Lakmé k.Blonde
- Lakme Regular Tint Brush
- Fusion Plastic Black Hair Clips
Step 1: Section the head into Quadrants also known as a hot cross bun section pattern
Step 2: Start on the back 2 subsections starting at the nape and working your way to the crown on a 45degree angle
Step 3: Move to the front quadrants, split each subsection into 2 at the temple. Start on your section closest to the ear and work on a 45 degree angle from the front hair line towards the crown. Repeat on the section above
Step 4: Repeat on the other side of the head
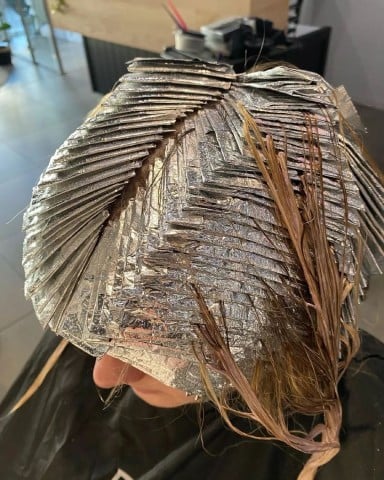
Image Credit:@b.haircollective
HOW TO FOLD AND LOCK FOIL TECHNIQUE
The fold and lock application of foils avoids colour seepage which can create a demarcation or bleeding of colour onto the scalp or hair.
What you will need:
- Quality embossed foil sheets to prevent slippage - we love the Framar Pastel Switch Embossed foils for this
- Long Pin Tail Comb: the YS Park 122 is a great option as it prevents piercing
- A Tint Brush with a tapered head, try the Fusion Tint Brush
- Tint/Colour (of course!), we’re a big fan of the Hue-verse demi-permanent gloss is perfect for foiling colour
Step 1: Fold the top part of the foil over the skinny end of a Long Tail Pin Comb (close to a 2-3cm fold).
Top Tip: Using the YS Park 122 Long Tail Pin Comb will prevent breakage or piercing of the foil.
Step 2: Starting at the top of the foil, use your tint brush to apply the colouring the hair using your preferred colour. Brush downwards until the colour has saturated the area where it is needed.
Step 3: Once the colour is applied, grab the bottom part of the foil and fold it just over halfway toward the top of the hair, making sure that the bottom of the foil’s edge is now a little bit past the line of the foil that’s underneath (the part that’s closest to the scalp).
Step 4: Use the tail comb that’s under the scalp foil to push forward the folded pocket underneath until both sides of the foil meet.
Step 5: Take both the left and right sides of the foiled edges and fold them towards the middle to meet the edge of the hair in the foil. But not too far that the edges are overfolded.
Step 6: Continue the foils as needed.
The fun part about colouring with foils is the endless ways to add beautiful and glossy colour to your client’s hair. From full heads of colour to foilayage and root touch-ups, foiling is a go-to colouring technique that offers your clients maximum results with creative new ways to see their colour.
Try some of these new foiling patterns and share and tag us!
Instagram: @haircaregroup
TikTok: @haircaregroup